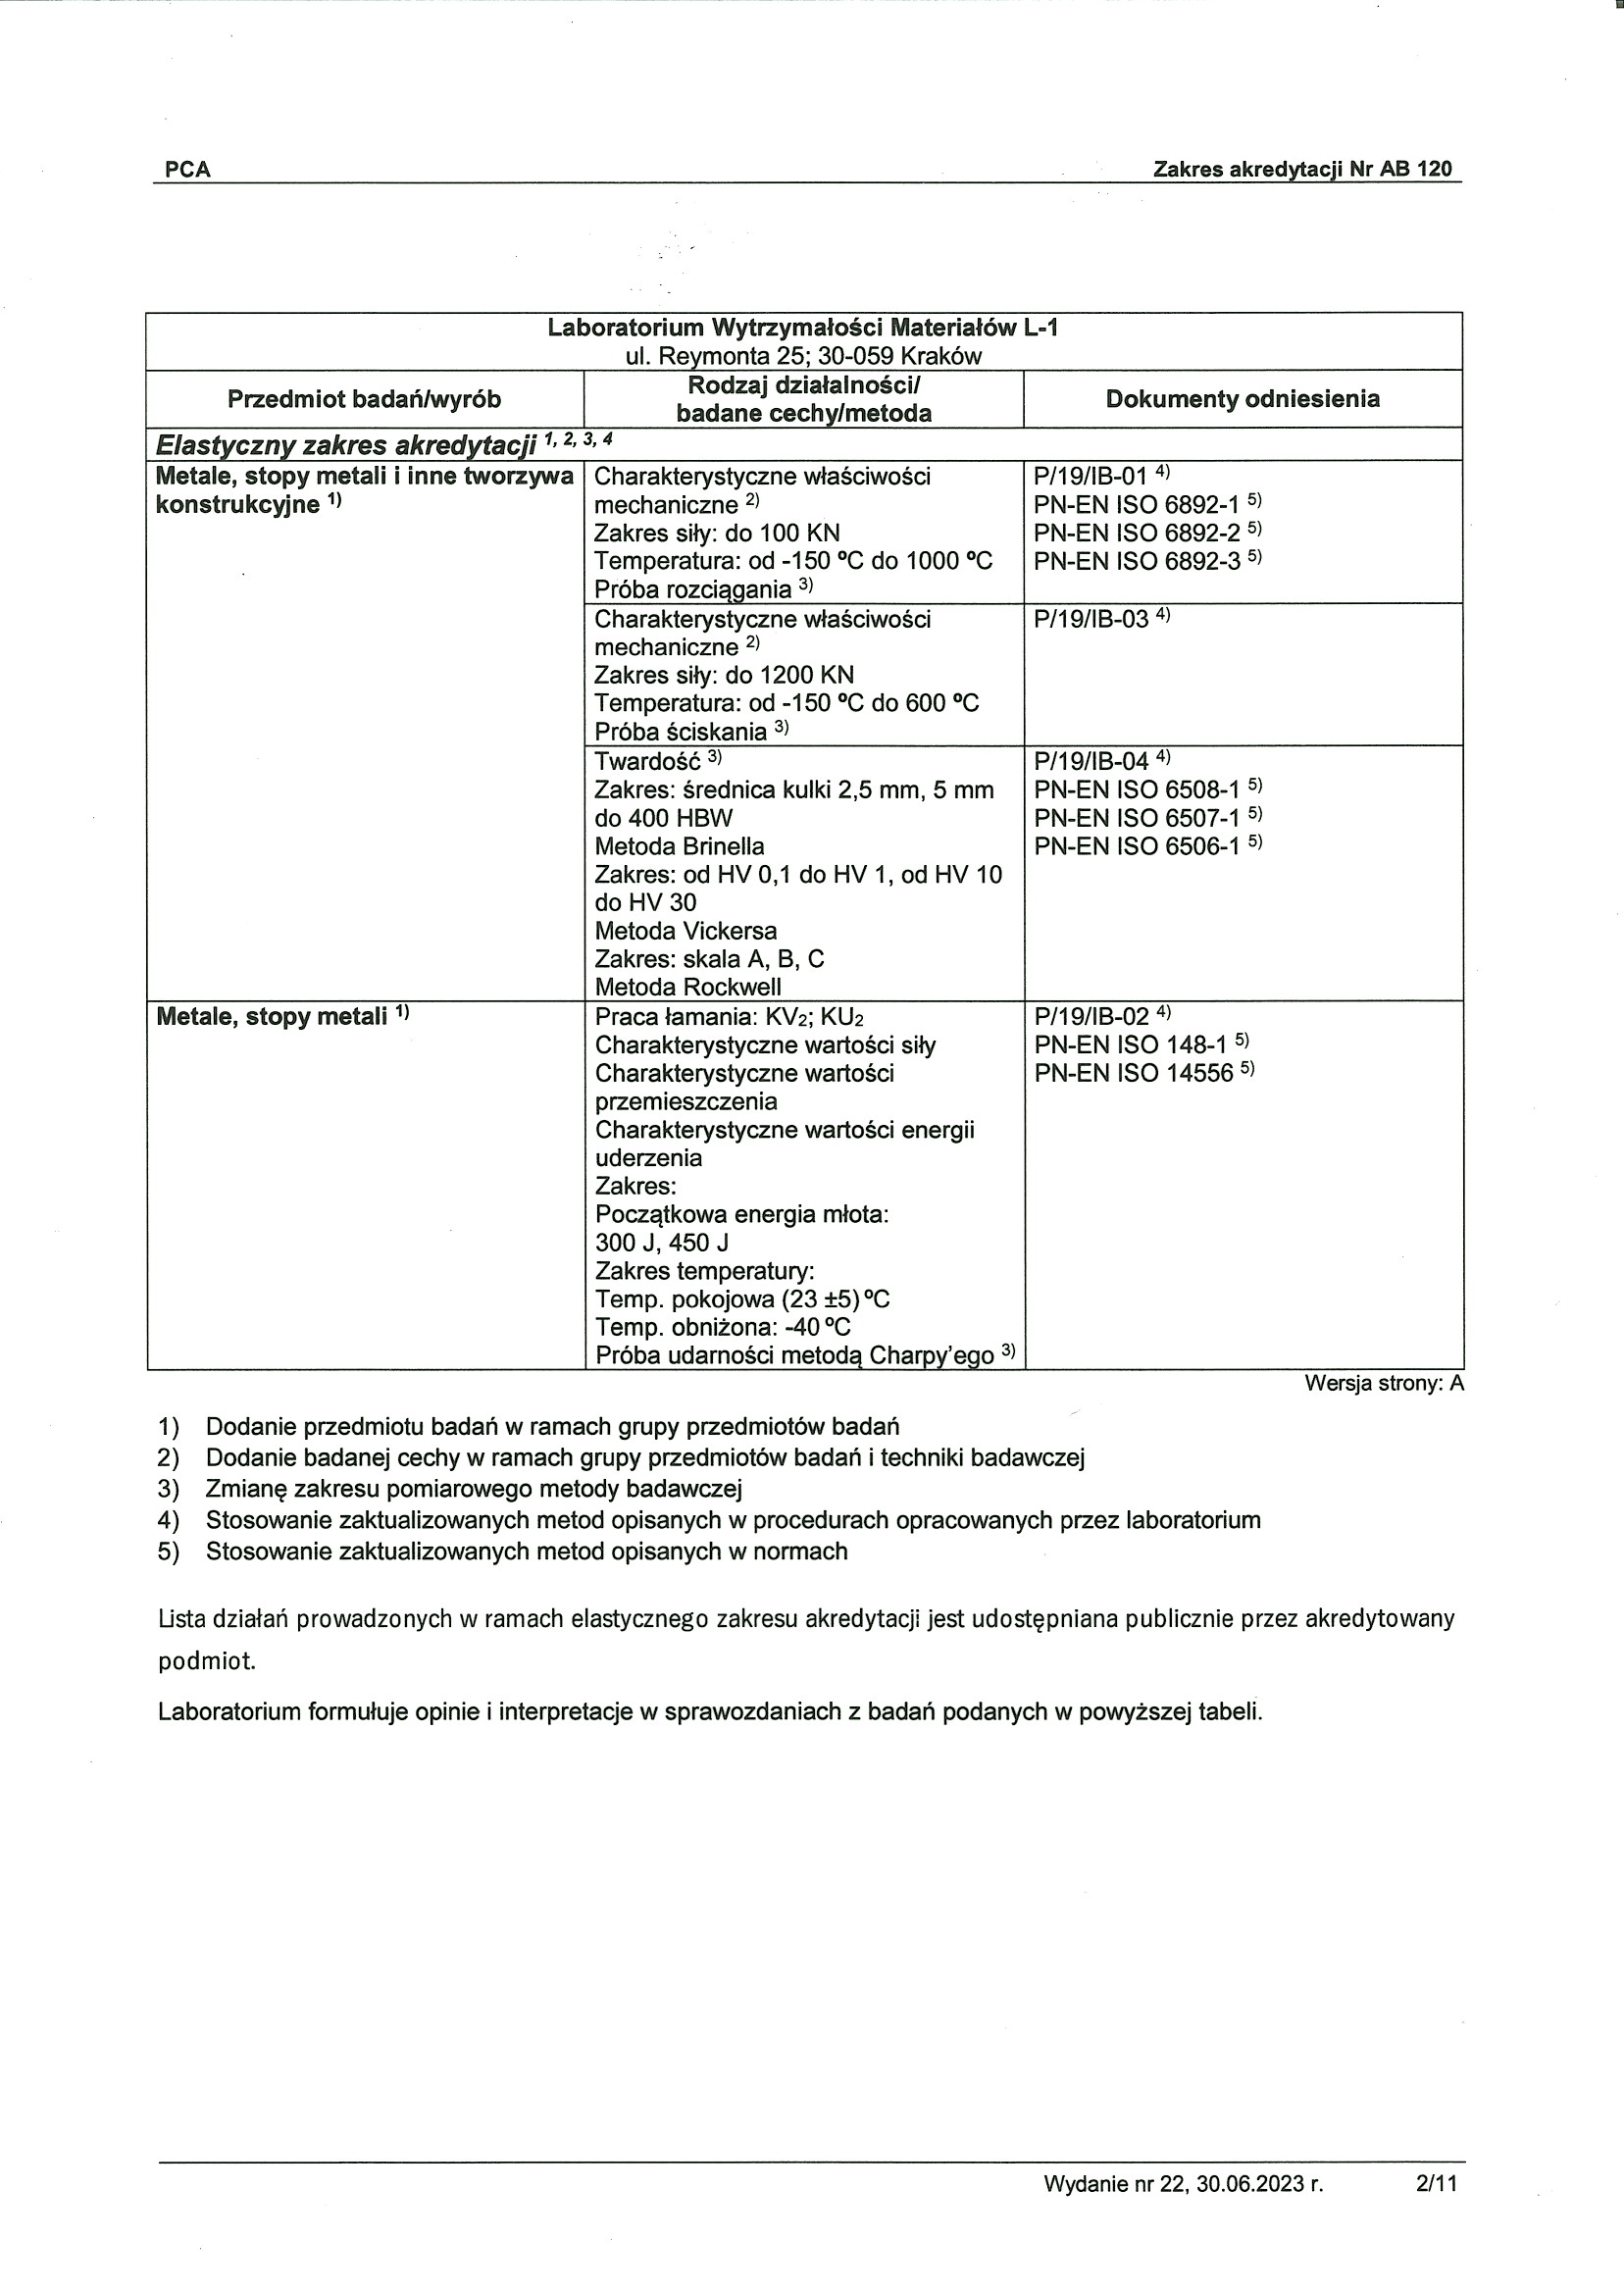
STRENGTH TESTING LABORATORIES (L-1)
STRENGTH TESTING LABORATORY (L-1) |
Scope of accreditation of research laboratory No AB 120
issued by Polish Centre for Accreditation Issue No. 17 of 12 June 2019.
Head of the laboratory | The experts |
Paweł Petrzak, MSc, Eng | Łukasz Maj PhD, Eng Łukasz Rogal PhD, DsC Monika Solecka PhD, Eng Katarzyna Stan-Głowińska PhD, Eng |
Address:
Institute of Metallurgy and Materials Science Polish Academy of Sciences
ul. Reymont 25, 30-059 Krakow
phone: (48) 12 295 28 98, fax: (48) 12 295 28 04
e-mail: Adres poczty elektronicznej jest chroniony przed robotami spamuj─ģcymi. W przegl─ģdarce musi by─ć w┼é─ģczona obs┼éuga JavaScript, ┼╝eby go zobaczy─ć. , website: http://www.imim.pl

Apparatus:
Static Materials Testing Machines:
The range of loads up to 1200 kN:
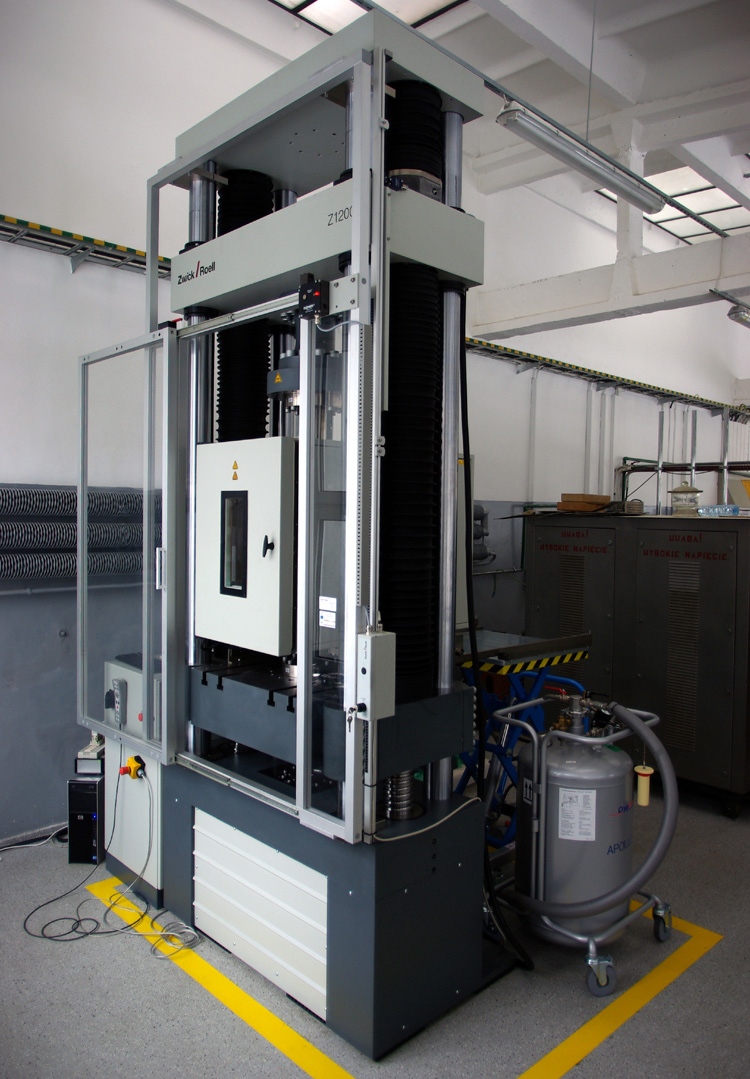
The testing machine Zwick / Roell Z1200, equipped with chamber temperature allowing for the tension or compression test at a temperature from 123 K to 873K and a laser extensometer laserXtens.
The range of loads up to 100 kN:
The testing machine INSTRON 6025 modernized by Zwick / Roell, equipped with a furnace MAYTEC allows you to perform tensile tests at temperatures up to 1473K, working with high-temperature extensometer and macro extensometer
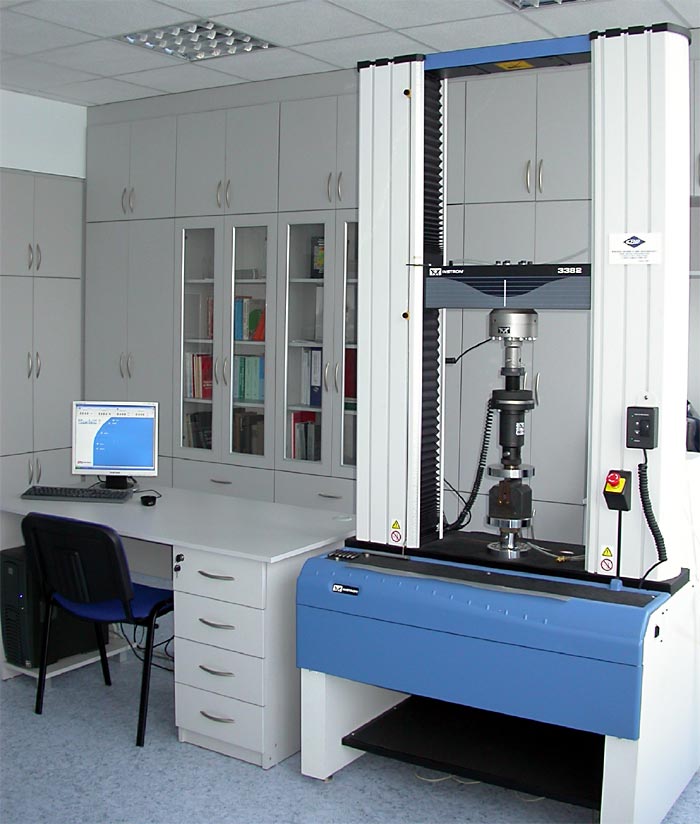
The testing machine INSTRON 3382 capable to perform tension and compression tests, equipped with furnace for tension tests at temperatures up to 1473 K.
The load range up to 0.1 kN:
The testing machine MTS / Adamel DY30 equipped with a head measuring load up to 100 N.
Hardness tester:
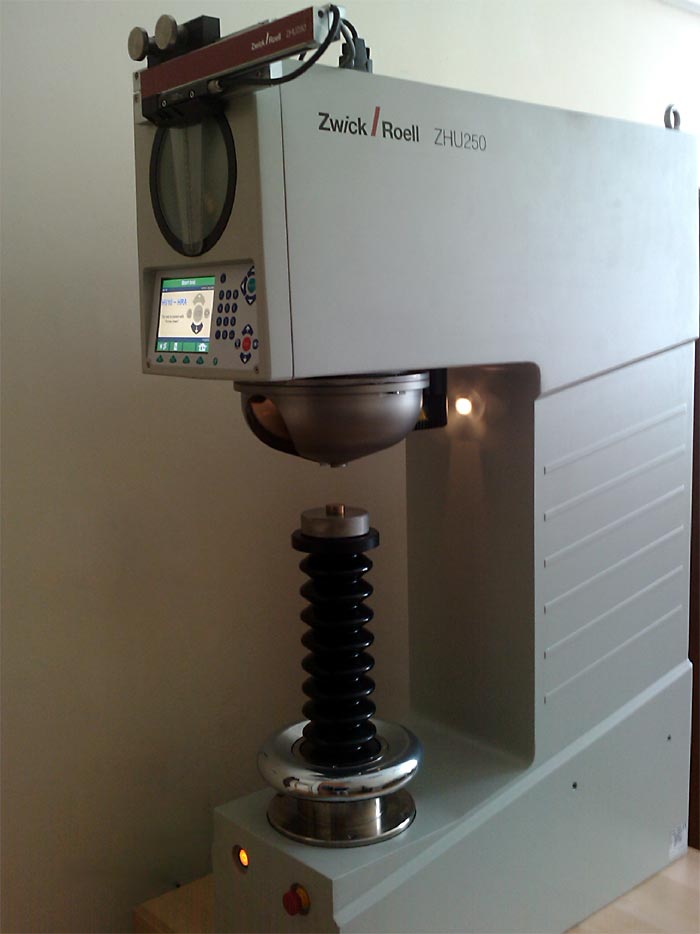
Universal Hardness Testers Zwick / Roell ZHU250 and micro-hardness tester CSM Instruments.
Pendulum impact testing machines
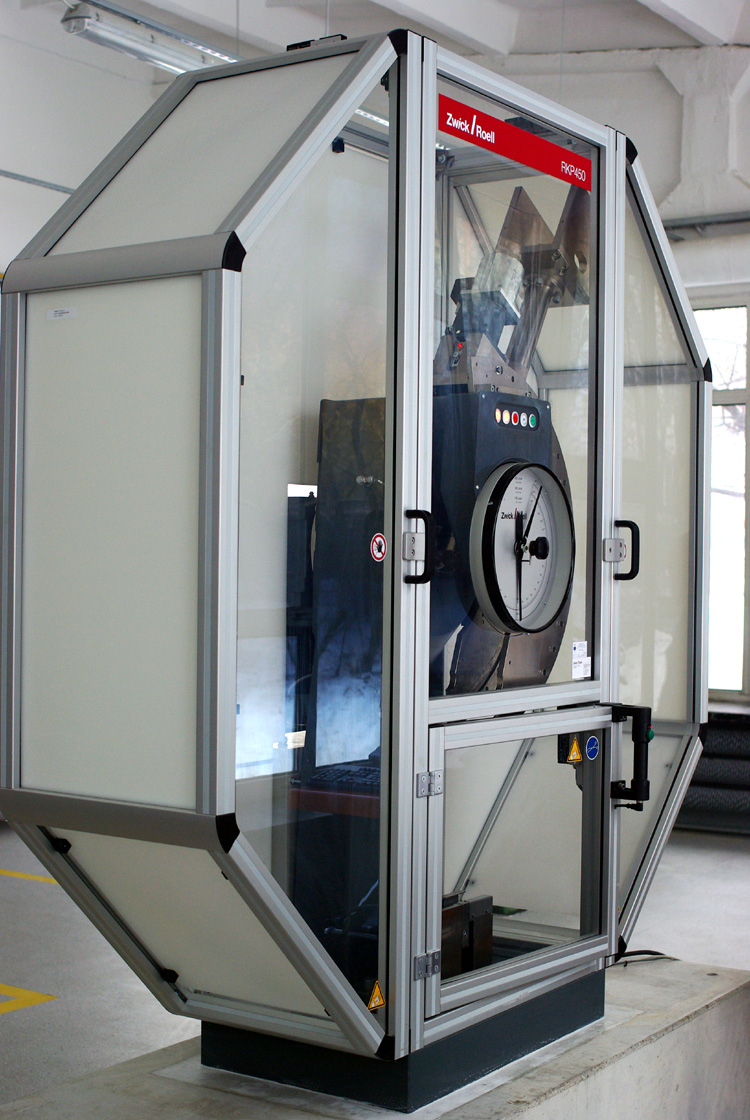
Pendulum impact tester Zwick/Roell RKP450 that allows for impact and dynamic tension tests. For the tests at the lower temperatures the impact machine is equipped with cooler for the samples.
As part of the modernization the Laboratory was equipped with the drop weight impact tester CEAST INSTRON 9350 allowing to perform test for the energy range from 0.59 J to 757 J (not covered by the PCA accreditation).
Description of the equipment:
The laboratory has a system adapted to endurance tests for tension or compression loads of up to 1200 kN. The system provides a measurement of the load and elongation (shortening for compression tests) in accuracy class 0.5, thus providing reliability in applications such as quality control and testing of materials and products.
The Zwick/Roell Z1200, INSTRON 3382, INSTRON 6025 (modified by Zwick/Roell) and MTS/Adamel DY30 are the electromechanical machines by which the study of mechanical properties can be carried out at a constant strain rate or constant traverse speed. The data acquisition system can record the entire tensile/compression test directly on the computer in the form of a data file. Maximum load range - 1200 kN can be recorded by the load cells of the ranges 0-0.1; 0-10; 0-100 and 0-1200 kN. The accuracy of the recorded force values, for each of the ranges of force is less than 0.5% of the full scale. Traverse speed is regulated smoothly in the range of 0.001-600 mm/min.
As a standard all valus according to PN-EN ISO 6892-1:2010 (tension test) and PN-57/H-04320 (compression test) standards are determined in the tests. In addition it is allowed to change the test methods in order to adapt them to the customer's expectations or industrial needs/standards.
The Zwick/Roell Z1200 machine provides the ability to perform material tests: compression, tension and fatigue with a maximum load of 1200 kN. In addition:
- allows to perform tests using load cells 100 kN or 1200 kN,
- is equipped with a contactless laser extensometer with varying gauge length in the range of 1.5 to 290 mm,
- is quipped with temperature chamber to perform tests at temperatures from 123 K to 873K,
- requires circular threaded sample preparation with a thread M8, M12, M16.
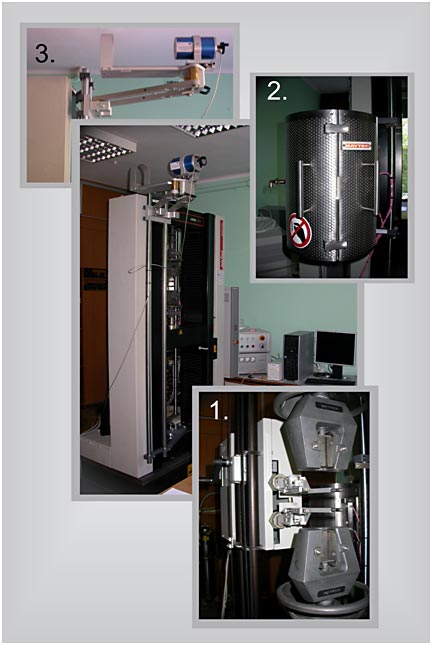
The INSTRON 6025 machine modernized by Zwick/Roell has two workspaces (above and below the moving traverse) which facilitates the planning and execution of experiments. In addition:
- the new control system and program offers a wide possibilities of conducting experiments: for example, the introduction of traverse oscillatory motion (for fatigue tests) or possibility of interactions and parameters change during the test by the user,
- the control system can be fully coupled with the elongation data registered by macro extensometer (1), which is characterized by adjustable gauge length (from 10 mm to 150 mm); the extensometer automatically closes at the beginning of test and opens when specimen break is detected,
- the use of the macro extensometer allows for accurate registration of the specimen elongation during whole test: from beginning till specimen break,
- an independent suspension of the macro extensometer eliminates the influence the weight of the suspended extensometer on test results,
- equipped with a furnace MAYTEC (2) allows to perform tensile tests at elevated temperature (up to 1200┬░C) in a protective atmosphere as well as in the air,
- the furnace is designed to work together with high-temperature extensometer (3) which is characterized by the adjustable gauge length (from 11 to 25 mm),
- an independent suspension of the high-temperature extensometer eliminates the influence the weight of the suspended extensometer on test results.
The machine is also equipped with three-point bending device.
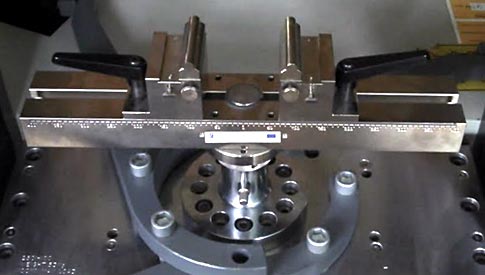
The three-point bending device
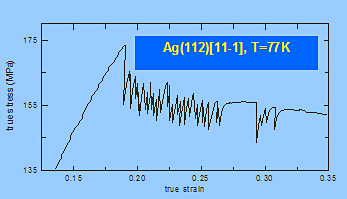
The flow curve obtained by PSC of silver monocrystal at 77K, with visible effects of intensive twinning.
A view of Instron 3382 testing machine
UNIVERSAL HARDNESS TESTERS Zwick / Roell ZHU250 allows to measure of hardness in Vickers, Brinell, Rockwell and Knop scales, in particular:
- Vickers scale (HV):HV1, HV2, HV3, HV5, HV10, HV20, HV30, HV50, HV60, HV100, HVT
- Knoop scale (HK): HK1
- Brinell scale (HB): HBW 1/1 ... 1/30, HBW 2.5/6.25 ... 2.5/187.5, HBW 5/25 ... 5/250, HBW 10/100 ... 10/250, HBT
- Rockwell scale (HR): A, B, C, D, E, F, G, H, K, 15N, 30N, 45N, 15T, 30T, 45T
The Universal Hardness Testers is equipped with two lenses (magnification 45x and 90x). Measurement is possible for samples with a maximum height of 250 mm.
Pendulum impact tester ZWICK/ROELL RKP 450 allows to performs Charpy, Izod and dynamic tensile tests according to DIN, EN, ASTM, ISO and PN standards.
The impact tester is equipped with two rams 300, 450 J and the instrumentalized knives, which allows to measure the breaking force as a function of time or displacement in accordance with ISO and ASTM standards. In addition:
- the machine is equipped with a samples cooler (temperature up to -60 ┬░C),
- it is possible to perform impact tests at the temperature of liquid nitrogen,
- the basic unit consists of a vibration-damping steel casting, providing a high level of mechanical stiffness and ensuring reliable test results,
- the electronics include a high-resolution angular encoder for precise measurement of the angle of rise,
- dynamic tension tests takes place at a maximum speed of about 5 m/s,
- it allows to continuously measure the force during impact or tensile tests.
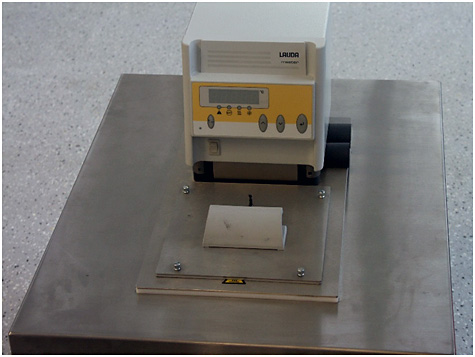
A view of the sample cooler
Drop hammer INSTRON CEAST 9350 is designed to perform impact tests using impact energy ranging from 0.59 to 757 J and the velocity in the range of 0.77 to 4.65 m/s. Hammer is equipped with high-strength frame and precise manual control. In addition:
It is equipped with a modular measuring head with interchangeable hammers.
The applied software provides the ability to control acquisition results and their analysis and reporting of research.
Used in the device acquisition system allows a high sampling rate up to 2 MHz.
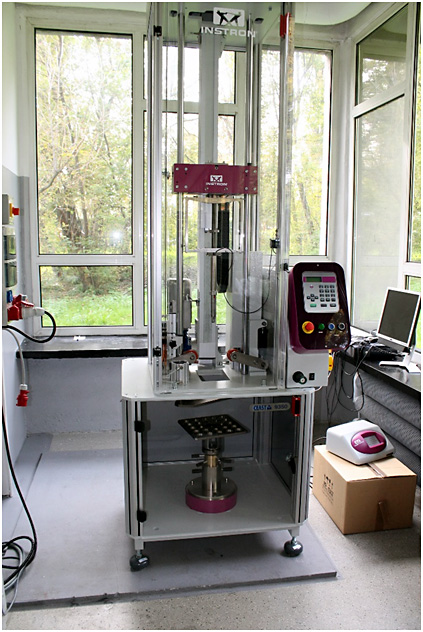
Preparation of samples for investigation
The laboratory tests samples supplied by customers. When determining the condition of order, a customer is instructed about sample dimensions and shapes recommended by Polish Standards, and about admissible deviations of dimensions as well as the method of preparing samples for investigations.
The main factor limiting the dimensions of samples to be examined in static tensile tests is the value of loading force, which cannot exceed 100 kN for INSTRON 3382 i 6025 machines and 1200 kN for Zwick/Roell Z1200 machine. When investigations are conducted at low or high temperatures, admissible sample dimensions are additionally limited by the devices working with the testing machine i.e. the size of constant temperature zone in high-temperature furnace and the specific requirements related to mounting samples in the holders. In addition in the case of research using machine Zwick / Roell Z1200 round samples with threaded head are required.
Persons interested in co-operation should contact:
Head of the laboratory L-1 Pawe┼é Petrzak MSc, Eng tel: +48 12 295 28 55 e-mail: Adres poczty elektronicznej jest chroniony przed robotami spamuj─ģcymi. W przegl─ģdarce musi by─ć w┼é─ģczona obs┼éuga JavaScript, ┼╝eby go zobaczy─ć. |
